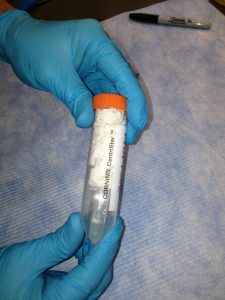
This shipping protocol is for sending DNA, amplicons, and primers. Following this protocol will ensure that plates and centrifuge tubes arrive to their destination without damage. Proper shipping will prevent samples from being damaged or destroyed during transit, and expedite the processing steps upon arrival. This advice is compiled by Matt Gebert with input from Greg Humphrey and Donna Berg-Lyons after years of sending and receiving shipments and aims to prevent commonly observed damage during shipping.
SAMPLES SENT FOR PROCESSING SHOULD CONTAIN A MINIMUM OF 30μl OF VOLUME PER SAMPLE. As always, remember to include a shipping information sheet that contains detailed sample information.
For international shipping, please be sure to use FedEx.
Shipping Plates:
Genomic DNA or amplicons should be shipped in fully skirted plates [Eppendorf* 96-Well twin.tec* PCR Plates Clear, E9-510-20401]. These are much more robust than non-skirted 96-well plates.
Step 1:
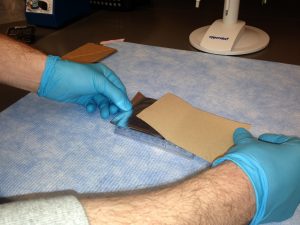
Place foil seal securely on top of plate [Excel Scientific AlumaSeal II Aluminum Foil Sealing Tape, non-sterile # T-2426-1 http://www.bioexpress.com]. These seals do not require heat to establish a proper seal with the plate.
DO NOT USE PCR seals that require heat for proper adhesion. Use of heat seals could result in well-to-well contamination if seal becomes opened during transit.
Step 2:
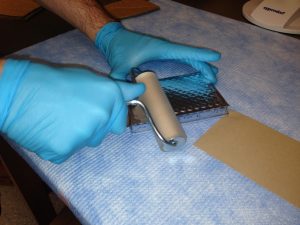
Using a roller [DIVERSIFIED BIOTECH Brayer Roller #T-2429-1 http://www.bioexpress.com/ ] ensure that the aluminum seal is secure and that there are no air bubbles or wells that have not been fully sealed. Make sure to press firmly so that the outline of each well is visible and all edges are sealed. Seals that are not properly secured may result in damaged to the seal and cross contamination during shipping or receiving.
Step 3:
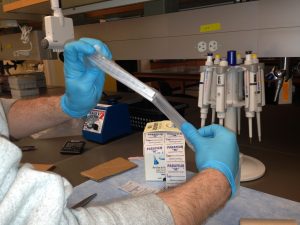
Place parafilm around the perimeter of the skirted plate to prevent edges of aluminum seal from bubbling. Bubbling could result in wells becoming uncovered and contaminated.
Step 4:
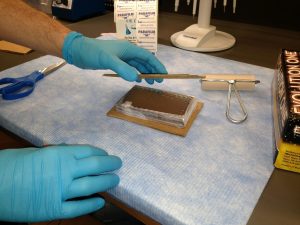
Cut two pieces of cardboard to roughly the size of the plate. Using cardboard will ensure that plates themselves are not damaged. Not using cardboard can result in seals being damaged, or punctured, or plates becoming cracked or damaged in transit.
Step 5:
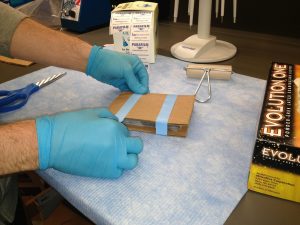
Secure cardboard to plate using tap. Make sure the plate cannot become dislodged from the cardboard case.
Step 6:
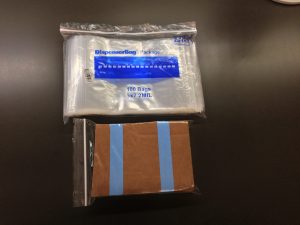
Plates should be placed into individual ziplock bags to avoid contamination from other plates, if leakage occurs.
Shipping microcentrifuge tubes:
Step 1:
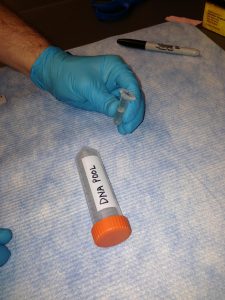
Label a larger tube (15 or 50 mL conical) with your name and the name of the sample(s) or pool(s). Label the each microcentrifuge tube (typically 1.5 mL or 2.0 mL) containing sample or pool with a unique name. Pools for sequencing should also have the concentration and 260/280 written on the tube.
Step 2:

Use parafilm to seal the top of the centrifuge tube to ensure that it does not open during transit.
Step 3:
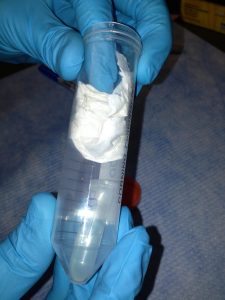
Place centrifuge tube at the bottom of the 50 mL conical. Pack paper towels or Kim Wipes into the 50 mL conical to secure tube and ensure that the tube is not jarred in transit.
Step 4:
Step 5:
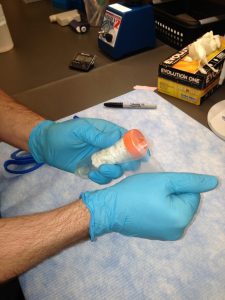
Secure 50 mL conical with parafilm.
Packing Instructions:
- Plates and/or tubes should be shipping on crushed dry ice in a Styrofoam. Please ensure there is enough dry ice to make the trip.
- Place samples in dry ice. If there is space between the top of the ice and the lid, fill with paper, or other packing materials, to prevent contents from freely shifting during transit.
- Tape around edge of Styrofoam to secure lid.
- Place Styrofoam container into larger shipping box. Pack the box as needed with paper or other packing materials as needed to fill up empty space in the box and secure the Styrofoam box.
- Seal cardboard box with tape.
